
页 1
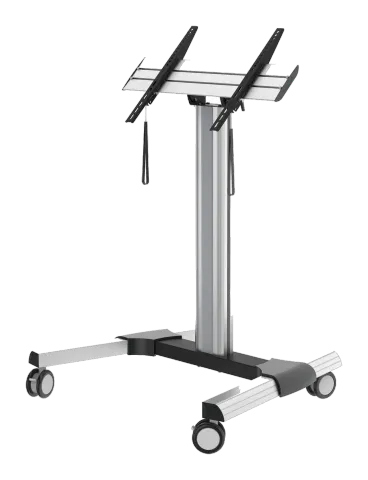
Flat Panel Display Stand & Cart and Accessories
INSTALLATION MANUAL
Caution: DO NOT EXCEED RATED LISTED WEIGHT. SERIOUS INJURY OR PROPERTY DAMAGE MAY OCCUR!
200x200/300x300 400x200/400x400
600x400
PDS-2201S 70" MAX
70kg (154lbs)
RATED
PDS-2201C 70" MAX
200x200/300x300 400x200/400x400 600x400
Maintenance
- Check that the bracket is secure and safe to use at regular intervals (at least every three months).
- Please contact your distributor if you have any questions.
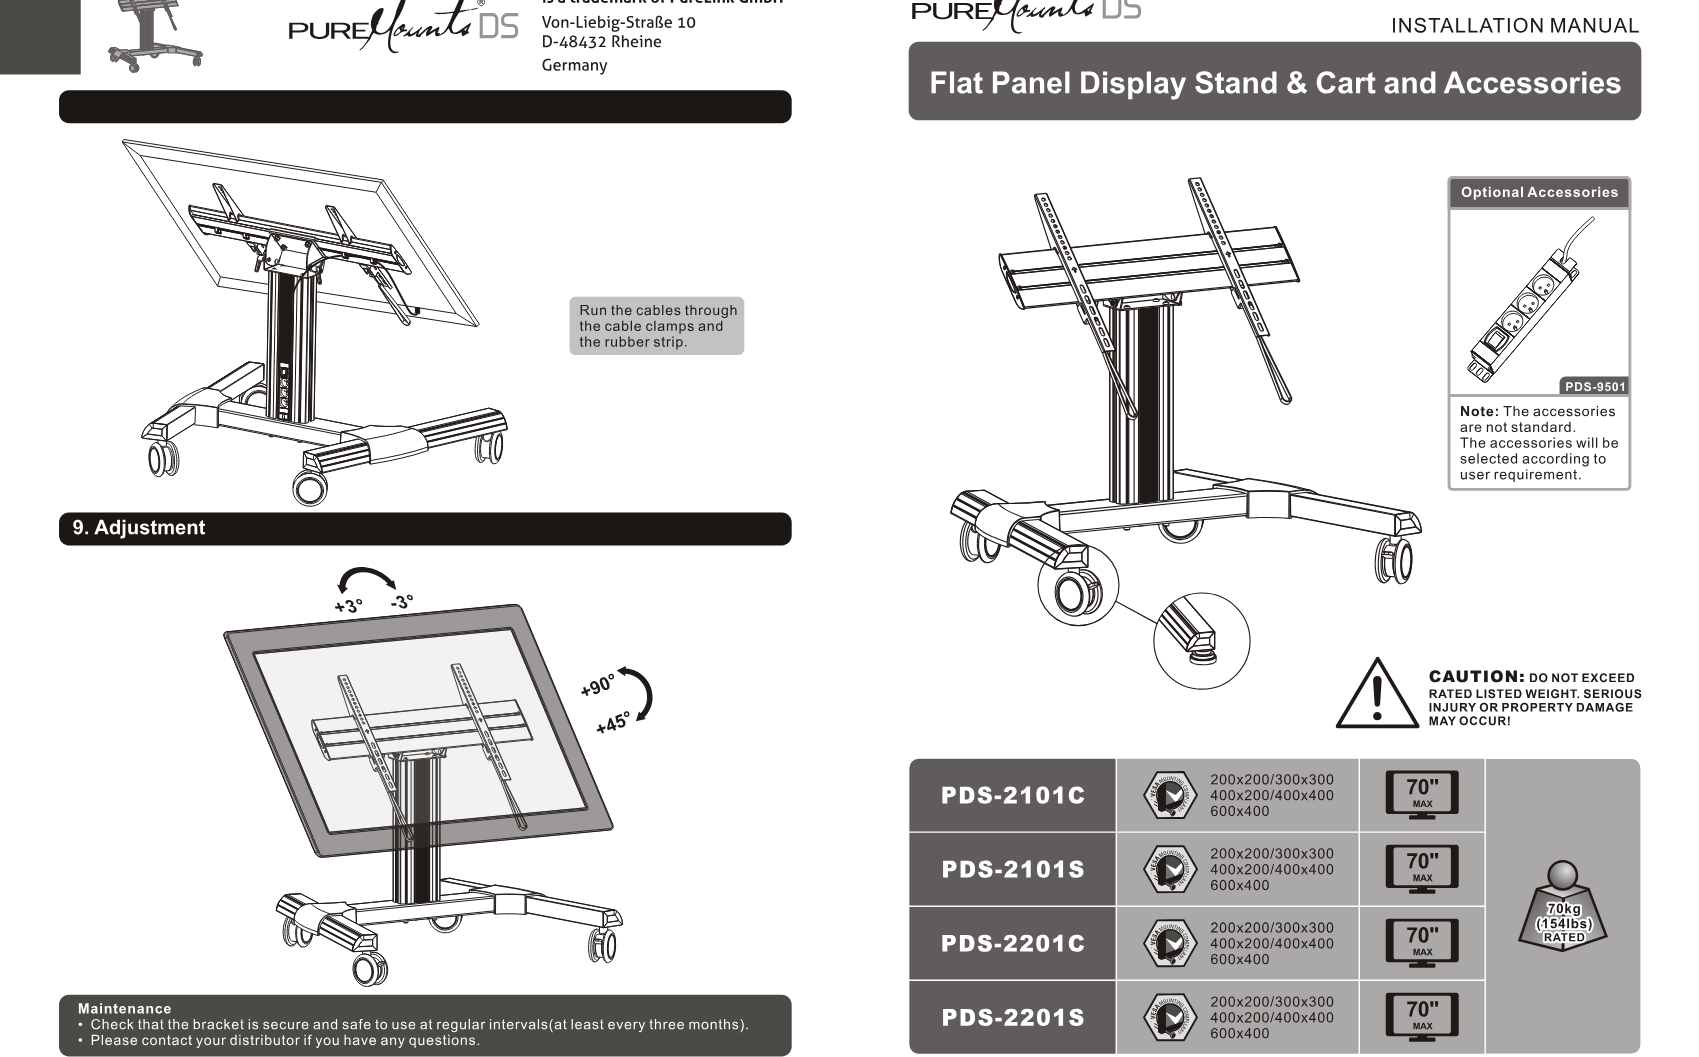
Note: The accessories are not standard. The accessories will be selected according to user requirement.
Optional Accessories
PDS-2101C 70" MAX
200x200/300x300 400x200/400x400 600x400
PDS-2101S 70" MAX
200x200/300x300 400x200/400x400 600x400
Run the cables through the cable clamps and the rubber strip.
9. Adjustment
页 2
Caution: Read the entire instruction manual before you start installation and assembly.
- Do not begin the installation until you have read and understood all the instructions and warnings contained in this installation sheet. If you have any questions regarding any of the instructions or warnings, please contact your local distributor.
- This mounting bracket was designed to be installed and utilised ONLY as specified in this manual. Improper installation of this product may cause damage or serious injury.
- Always use an assistant or mechanical lifting equipment to safely lift and position the equipment.
- Tighten screws firmly, but do not over tighten. Over tightening can cause damage to the items, This greatly reduces their holding power.
- This product is intended for indoor use only. Using this product outdoors could lead to product failure and personal injury.
Package M
- washer M-F (x4)
- M8x20 M-C (x4)
- M5x14 M-A (x4)
- M6x14 M-B (x4)
- big spacer (x4) M-H
- M6x30 M-D (x4)
- M8x30 M-E (x4)
- small spacer (x8)
- M-G M8x65 (x8)
- J cable clamp (x4)
- I M8x40(X4)
- L 5mm Allen key (x1)
- M 6mm Allen key (x1)
- N D8 washer (x4)
- O Component (PDS-2101C/PDS-2201C only) supporting foot (x4)
- Scaster wheel/brake P (x2) caster wheel Q (x2) wrench (x1)
- R Component (PDS-2101S/PDS-2201S only) rubber pad (x4)
- T (Peel off the backing paper from the rubber pad and stick the rubber pad on to the supporting foot.)
PDS-9501 (The following accessories are optional)
- power socket (x1)
- T-H ST4.8x9.5 (x4)
- P-G
Component Checklist: IMPORTANT: Ensure that you have received all parts according to the component checklist prior to installation.
If any parts are missing or faulty, telephone your local distributor for a replacement.
PDS-2101C/PDS-2101S PDS-2201C/PDS-2201S
- adapter bracket G (x2)
- middle base (x1) A
- left cover D (x1)
- right cover (X1) E
- left base B (x1)
- right base C (x1)
- column (x1) H
- universal plate (x1) F
- M8x16 (x4) K
页 3
1. Assembling the Base
Attach the left and right base to the middle base using the appropriate screws. Tighten all screws with an Allen key.
2. For the model PDS-9501 installation
Note: Assembly based on the accessories selected by user.
3. Attaching the Column to the Base
Attach the power socket to the back of column using the appropriate screws. Tighten all screws with a phillips screwdriver.
Attach the column to the assembled base using the appropriate screws and washers.
Tighten all screws with an Allen key.
Note: Lock the brakes on the casters to avoid any sudden movements during installation.
J N T-H L N O
4. Installing the Covers
D E
5. Installing the Universal Plate
Attach the universal plate to the column using the appropriate screws.
Tighten all screws with an Allen key.
P-G
6. Installing the Adapter Brackets
Top of the display
Note: With the brake wheels facing forward.
M K B A C
页 4
6-1 For Flat Back Screens
TV
TVTV
M-A/M-B/M-C
M-F
6-2 For Recessed Back Screens or to Access A/V Inputs
TV
TVTV
Tighten all screws but do not over tighten.
2 Position the adapter brackets as close as possible to the center of the display.
2 Screw the adapter brackets onto the display.
Note: Choose the appropriate screws, washers and spacers (if necessary) according to the type of screen.
orM-F M-C M-G M-C M-D/M-E/ M-F M-G M-D/M-E M-F M-H M-D/M-E M-F M-G M-H or or
7. Hanging the Display onto the Universal Plate
8. Cable Management
Insert the cable clamps horizontally into the plate slots, then turn the cable clamps to the vertical to secure them.
I
Lift the display carefully and pull downward two straps at the same time , then hook the adapter brackets to the universal plate. Fasten the adapter brackets to the universal plate by releasing the straps.
Legal & Compliance
Product identification
Model: PDS-2101C – manual version 1.0
Warranty and liability
The manufacturer grants the full statutory warranty on all new devices. As the manufacturer has no influence on installation, the warranty only applies to the product itself. If you detect a fault or damage, please contact your dealer and provide your sales slip or invoice as proof of purchase.
The manufacturer is not liable for damage to persons or property caused by improper installation, operation or maintenance not described in this manual. Do not alter or modify the product or its accessories. Any use other than described in this manual is not permitted and voids warranty and guarantee.
Trademarks and disclaimer
Product model and logo are trademarks. All other company and product names mentioned are trademarks of their respective owners. All rights reserved. No part of this publication may be copied or reproduced without prior written permission. We reserve the right to make changes to the device, packaging or manual and accept no liability for misprints.
Packaging
Dispose of packaging separately by material (paper/cardboard, plastics) via the local collection systems. Keep packaging material away from children – risk of suffocation. Packaging register LUCID: DE5958616449295.